Pyrography Hints & Tips
What is Pyrography?
The word comes from the Greek “pur” (fire) and “graphos” (writing), meaning writing with fire! With pyrography, there are no set styles and it’s open to personal interpretation. While some people prefer a traditional approach, I try and experiment with styles and sometimes incorporate colours - now and again!
Hints and Tips
I often get asked lots of questions by new pyrographers starting out on their wood burning journey, so here are a few pointers.
What Machine?
When I first started I used a Janik Pyrography Machine Model S2 which you can buy for around £69. There are a lot of less expensive models on the market but they don't all offer variable heat which you need for shading and sometimes they have very 'fat' handles which are just too difficult to hold.
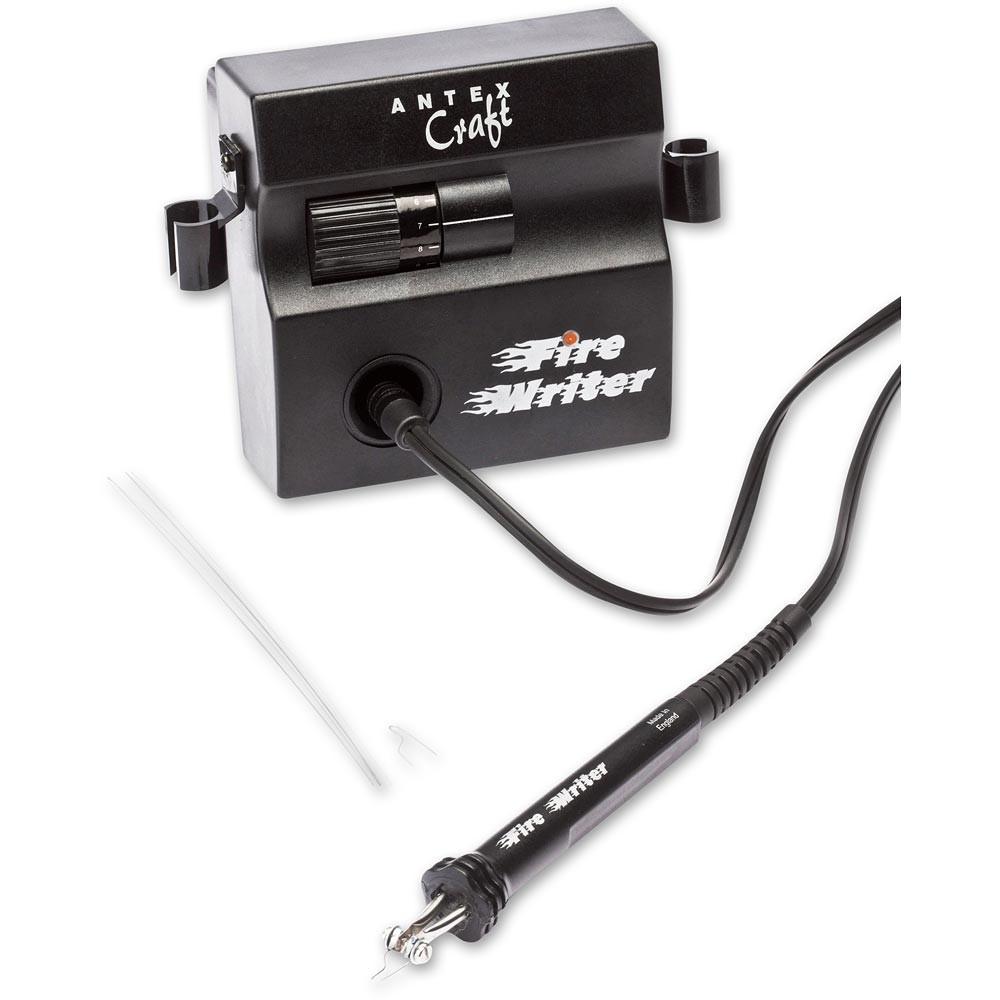
I now use the Antex Firewriter which you can buy for around £120 - £150. This is a fantastic British made machine which has wonderful variable heat settings and has a very easy 'pen' to hold and draw with. I buy my wire on line (from Turners Retreat) and make my own tips - and unlike other pyrographers who use different tips for different jobs, I find that my little piece of bent wire can do all that I need. It's like holding a pencil - so I can draw thin lines, fat lines and you can shade too!
What kind of Wood?
I always have a huge range of British woods in my studio - and I love burning onto Beech, Birch, Ash, Maple, Sycamore, Poplar, Lacewood, Elm, Lime and any of the fruit woods - but I HATE Oak! (it's just too course!) I also love burning on to Yew (as its full of beautiful colours) and any spalted woods (woods that have dark patterns made by a fungus) but these both create poisonous fumes so I have to be careful where I burn these and tend to do these outside in the fresh air. You can also buy wood blanks and birch plywood on line from loads of places these days including Amazon, Hobby Craft etc but for 'real' wood you will need to source a local wood merchant.
How to Burn?
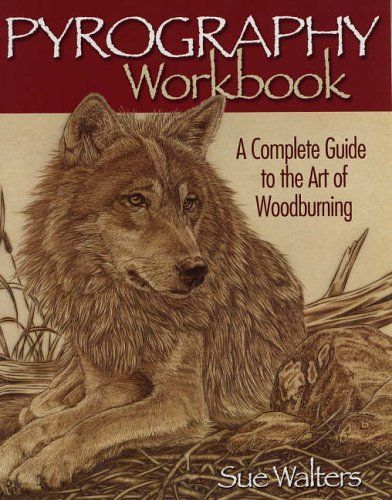
There are lots and lots of very good books on how to do Pyrography on the market now (I can highly recommend Sue Walters books) and there are also lots of fab videos on YouTube which give you hundreds of great ideas!
But my best advice is simply to buy some ply, sand it to make it as smooth as possible and just start by tracing a design on to it (use old fashioned black carbon paper) - you don't need to be an artist! And then just burn your image on. It won't be perfect but the more you do, the more you will learn how it works for you. Practice makes perfect! My first piece was horrendous but I have kept it as a reminder....... we all have to start somewhere!
I sometimes add a splash of colour to my burnings and have tried all sorts of different ways - watercolours are my favourite. But other people prefer oil paints, watercolour pencils or even felt pens! And at Christmas time I play around with glitter glue too for that seasonal feel!
Afterwards I always seal my work with a cellulose sanding sealer (I really like the Chestnut Products one which smells like peardrops!) which brings out the grain of the wood and protects the pyrography - but other people use varnish or waxes. It's all a matter of personal taste! If your piece of work is going to be displayed outside or in direct sunlight, you will need to seal every surface - front, back and sides - with yacht varnish.
Any questions? Please do send me an email via my contacts page or message me on Facebook and I will try my best to help you.
Keep Burning!!
Mandy :)